- Design a Work Plan
The first thing you need to do is analyze the mess around your home. Take a walk around the house keenly looking at the dirty and dusty places.
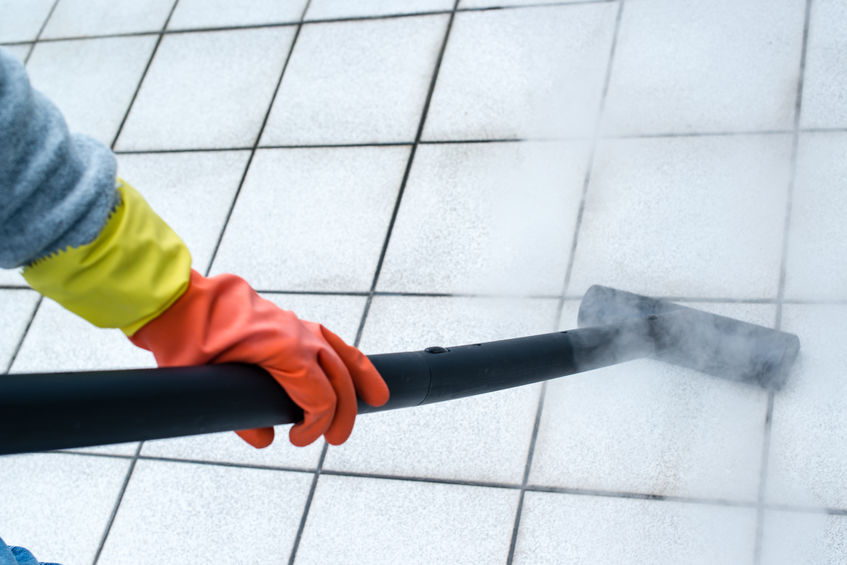
- Gather All the Tools You Need for the Job
Now that you know where to clean, sit down and compile a list of the tools you need for the job. Among the items you will need include a cleanser solution, a steel wire, a soft piece of cloth, warm soapy water, mop, a bucket, a wet-dry vacuum, and probably a power vacuum. Coming up with such a list helps you save time because you will buy them together from one place at the local supplies store. Doing this can even save you money because you will buy the tools in bulk and enjoy some great discounts.
- You Can Use Homemade Solutions
The good news is that you do not have to buy any cleaning solution; you can make them right at home. For most surfaces, you can use warm water with detergent or even soapy warm water. With just a single wipe using a soft piece of cloth, you can easily clean the countertops, windows, vents, and cooktop. Ensure to use just a small amount of water on cabinets and countertops because so much water could end up damaging the wood.
- Be Gentle on the Windows and Glass
As you wipe and dust your windows, be very careful because too much force or coarse things could end up making things worse with scratches. Experts advise on using a soft piece of cloth and some detergent to wipe off dust down the windowpanes. If the dirt is sticky and strong on the glass, use a ball of superfine graded steel wool to remove the dirt. All you have to do is ensure that you do not scrub back and forth to avoid making scratches on the glass. Superfine graded steel wool is abrasive enough to remove the debris and soft enough not to scratch the glass.
- Clean Everything
The ceiling and the fans too will catch some dust and sawdust so do not forget to spruce them up with some spray solution and a paper towel. As you come down the ladder, do the same with the bulbs and chandeliers. As you clean the windows, use a brush to agitate the sediment trapped in the louvers of the windows and the sliding doors then use the wet-dry vacuum to suck the loosened sediment. You can hose off the dust and sediment from the fly screens since these gather all manner of dust during the construction process.
It can be a real hassle to clean your property after the completion of a construction project. At most times, it can be a bit hard for you to decide where to start, bearing in mind all the dust and mess. If you are in such a position, you can consider implementing our tips. However, we recommend that you allow professional cleaners to handle your post-construction cleaning. You will be happier with the results than if you did it yourself. Professionals have the right tools to reach even the most hidden spots. They also have the knowledge and expertise to do the cleaning without leaving any dirt behind or damaging the windows.