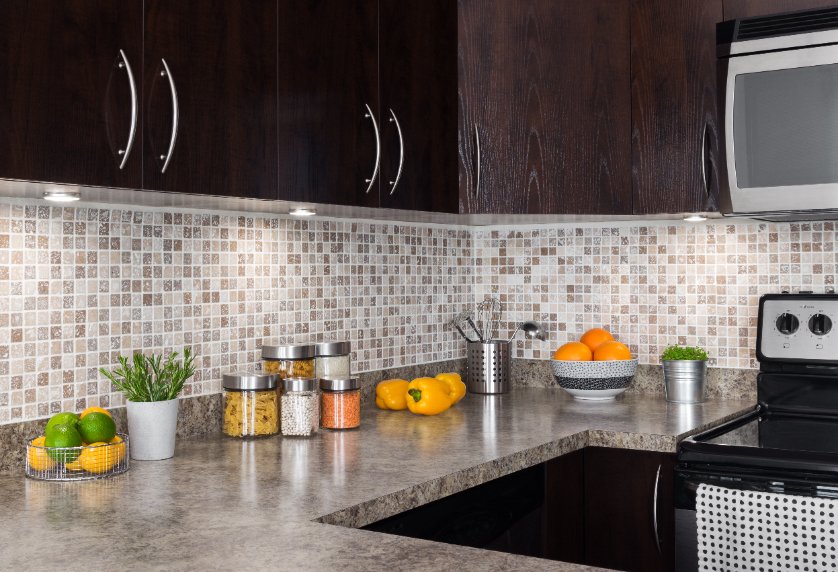
The kitchen is the most important room in the house. It is where great food is made, visitors are entertained, and connections are formed over a nice meal. However, because it is quite a busy place, the kitchen can often get quite dirty. If you do not have the time or energy to do a good clean up, you may just end up doing some small spot cleaning. This delay in an ultimate clean up piles up a lot of dirt and debris in all corners of the kitchen. Due to this, you will eventually need to do a nice clean up. Since now is the perfect time for you to do that, this article gives you a simple step-by-step kitchen cleaning guide that you can follow to clean your kitchen easily and effortlessly.
Step One – Get rid of all the Clutter Clutter seems to appear out of nowhere and can quickly take over your kitchen counters, leaving you feeling stressed and overwhelmed. If you are looking to declutter your kitchen, you can do a few simple things to get started. First, take stock of what you have. Do you really need that many Tupperware containers? Could you get by with fewer pots and pans?

Once you have determined what is essential, get rid of the rest. Next, create a system for organizing what is left. Utilize cabinet and drawer space to keep things tidy and within reach. Finally, be proactive about clutter by coming up with a plan for dealing with it on a daily basis. By taking just a few minutes each day to keep your counters clear, you can make a big difference in the overall feel of your kitchen.
Step Two – Dust the Kitchen
Dust can accumulate quickly on surfaces, and can provide a perfect environment for bacteria to thrive. In addition, dust can be a trigger for allergies and asthma. For these reasons, it is important to dust the kitchen regularly. The best way to dust is with a damp cloth, which will help to capture the dust and prevent it from becoming airborne. Start by dusting high surfaces, such as ceiling fans and light fixtures. Then move on to lower surfaces, such as countertops and appliances. Be sure to dust all corners and crevices, as dust accumulates in these areas quite often.
Step Three – Clean the Kitchen Appliances
Taking the time to clean kitchen appliances is an action that can extend their lifespan and prevent problems down the road. Start by clearing your fridge of old food and spills before they have a chance to harden. Wipe down the shelves with a mild soap and water solution. Do not forget to clean the seals on your fridge and freezer door. These areas can accumulate mold and mildew, so it is important to keep them clean. Wipe them down with a cloth dampened with white vinegar or diluted bleach.
In addition, clean the oven to prevent built-up grease and grime. You can use a commercial oven cleaner, or make your own by mixing equal parts baking soda and water. For difficult-to-reach areas, try using a moistened toothbrush. Your dishwasher works hard to clean your dishes, so it is important to clean it on a regular basis as well. Remove any food or grease buildup from the filters, and scrub the interior with a mixture of vinegar and water.
Step Four – Clean the Drawers, Cupboards, and Cabinets
Start by emptying out all of the contents of each drawer, cupboard, and cabinet. Sort through everything, and get rid of anything that you do not need or use anymore. Next, give the inside of each drawer, cupboard, and cabinet a good wipe down with a damp cloth. Once everything is clean and organized, put everything back in its place and make sure to keep it that way.
Step Five – Clean the Floors and Windows
For the floors, start by sweeping and mopping to help prevent built-up dirt and grime. Be sure to sweep in the direction of the grain of the flooring, and mop with a clean, damp cloth. If you have tile floors, you may also want to use a tile cleaner or scrubber to remove any tough stains. For the windows, you can start by dusting them with a soft cloth or duster. Then, use a glass cleaner and clean cloth to wipe down the glass. You may need to use a little hard work for tough spots. Once the glass is clean, be sure to dry it with a lint-free towel or chamois. With a little effort, you can keep your kitchen floors and windows sparkling clean.
When it comes to keeping your kitchen clean, there is no one-size-fits-all solution. Some people prefer an all-at-once blitz approach while others take a more gradual, step-by-step method. We have provided you with a systematic process that you can follow to keep your kitchen clean. However, as you may have realized, kitchen cleaning is quite a daunting task, a major reason why you may want to hire professional cleaners to help you out.
